Learn how to install and configure the Sage 300 Web API to enable seamless integration between Sage 300 and other business systems.
The Sage 300 Web API is a powerful tool that enables developers and system integrators to interact with Sage 300 data over HTTP. Using standard REST calls, you can retrieve, create, update, and delete records opening up a wide range of integration possibilities with other business systems. Refer to the Sage 300 documentation for the full API reference.
What Is the Sage 300 Web API?
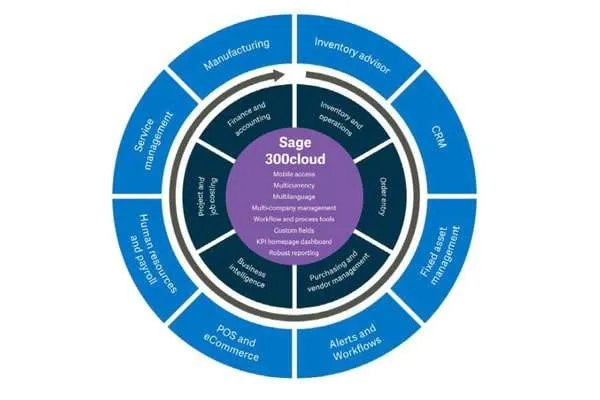
The Sage 300 Web API provides programmatic access to Sage 300 data using web-standard HTTP methods (GET, POST, PUT, DELETE). It serves as the integration layer between Sage 300 and external applications whether that is an e-commerce platform, a custom business application, or a third-party reporting tool.
Key benefits:
- Integration flexibility: Connect Sage 300 with virtually any system that supports REST APIs
- Real-time data access: Query current financial and operational data without manual exports
- Improved efficiency: Automate data flows that currently require manual entry in multiple systems
- Scalability: Supports complex integrations that grow with your business
Prerequisites
Before installing the Sage 300 Web API, ensure you have:
- A working Sage 300 installation (version 2019 or later recommended)
- Windows Server (2016 or later)
- Internet Information Services (IIS) installed and configured
- .NET Framework 4.7 or later
- SQL Server access credentials
Installation Steps
Step 1: Download the installer Download the Sage 300 Web API installer from the official Sage Customer Portal or your Sage partner portal. Ensure the version matches your Sage 300 installation.
Step 2: Run the installer as administrator Right-click the installer and select “Run as administrator.” Accept the license agreement and proceed through the installation wizard.
Step 3: Configure Web API settings During installation, specify:
- Installation directory
- IIS site and port (default is port 443 for HTTPS)
- Authentication method
- SSL/TLS certificate selection
Step 4: Complete the installation Allow the installer to finish. The Web API creates an IIS application that handles all API requests.
Testing Your Installation
Open a browser and navigate to your configured endpoint URL typically in the format https://yourserver/sage300api/v1. You should see the API documentation or be prompted for authentication. A successful response confirms the installation is working.
Conclusion
The Sage 300 Web API installation is a straightforward process that opens up significant integration possibilities. Once installed, you can build automated workflows, real-time dashboards, and bi-directional data syncs between Sage 300 and the other business systems your organization relies on.
Need help installing or configuring the Sage 300 Web API? Our technical team is ready to assist.