How to Set Up Clover POS for Small Business in 8 Easy Steps

Clover POS for Small Business

How to Set Up Clover POS for Small Business in 8 Easy Steps

Clover POS for Small Business: Small businesses need a reliable point-of-sale (POS) system to manage their transactions and inventory. Clover POS is a versatile solution designed for simplicity and flexibility.

Clover POS offers a variety of features tailored to small businesses’ needs and is gaining popularity among them for its ease of use and practicality.

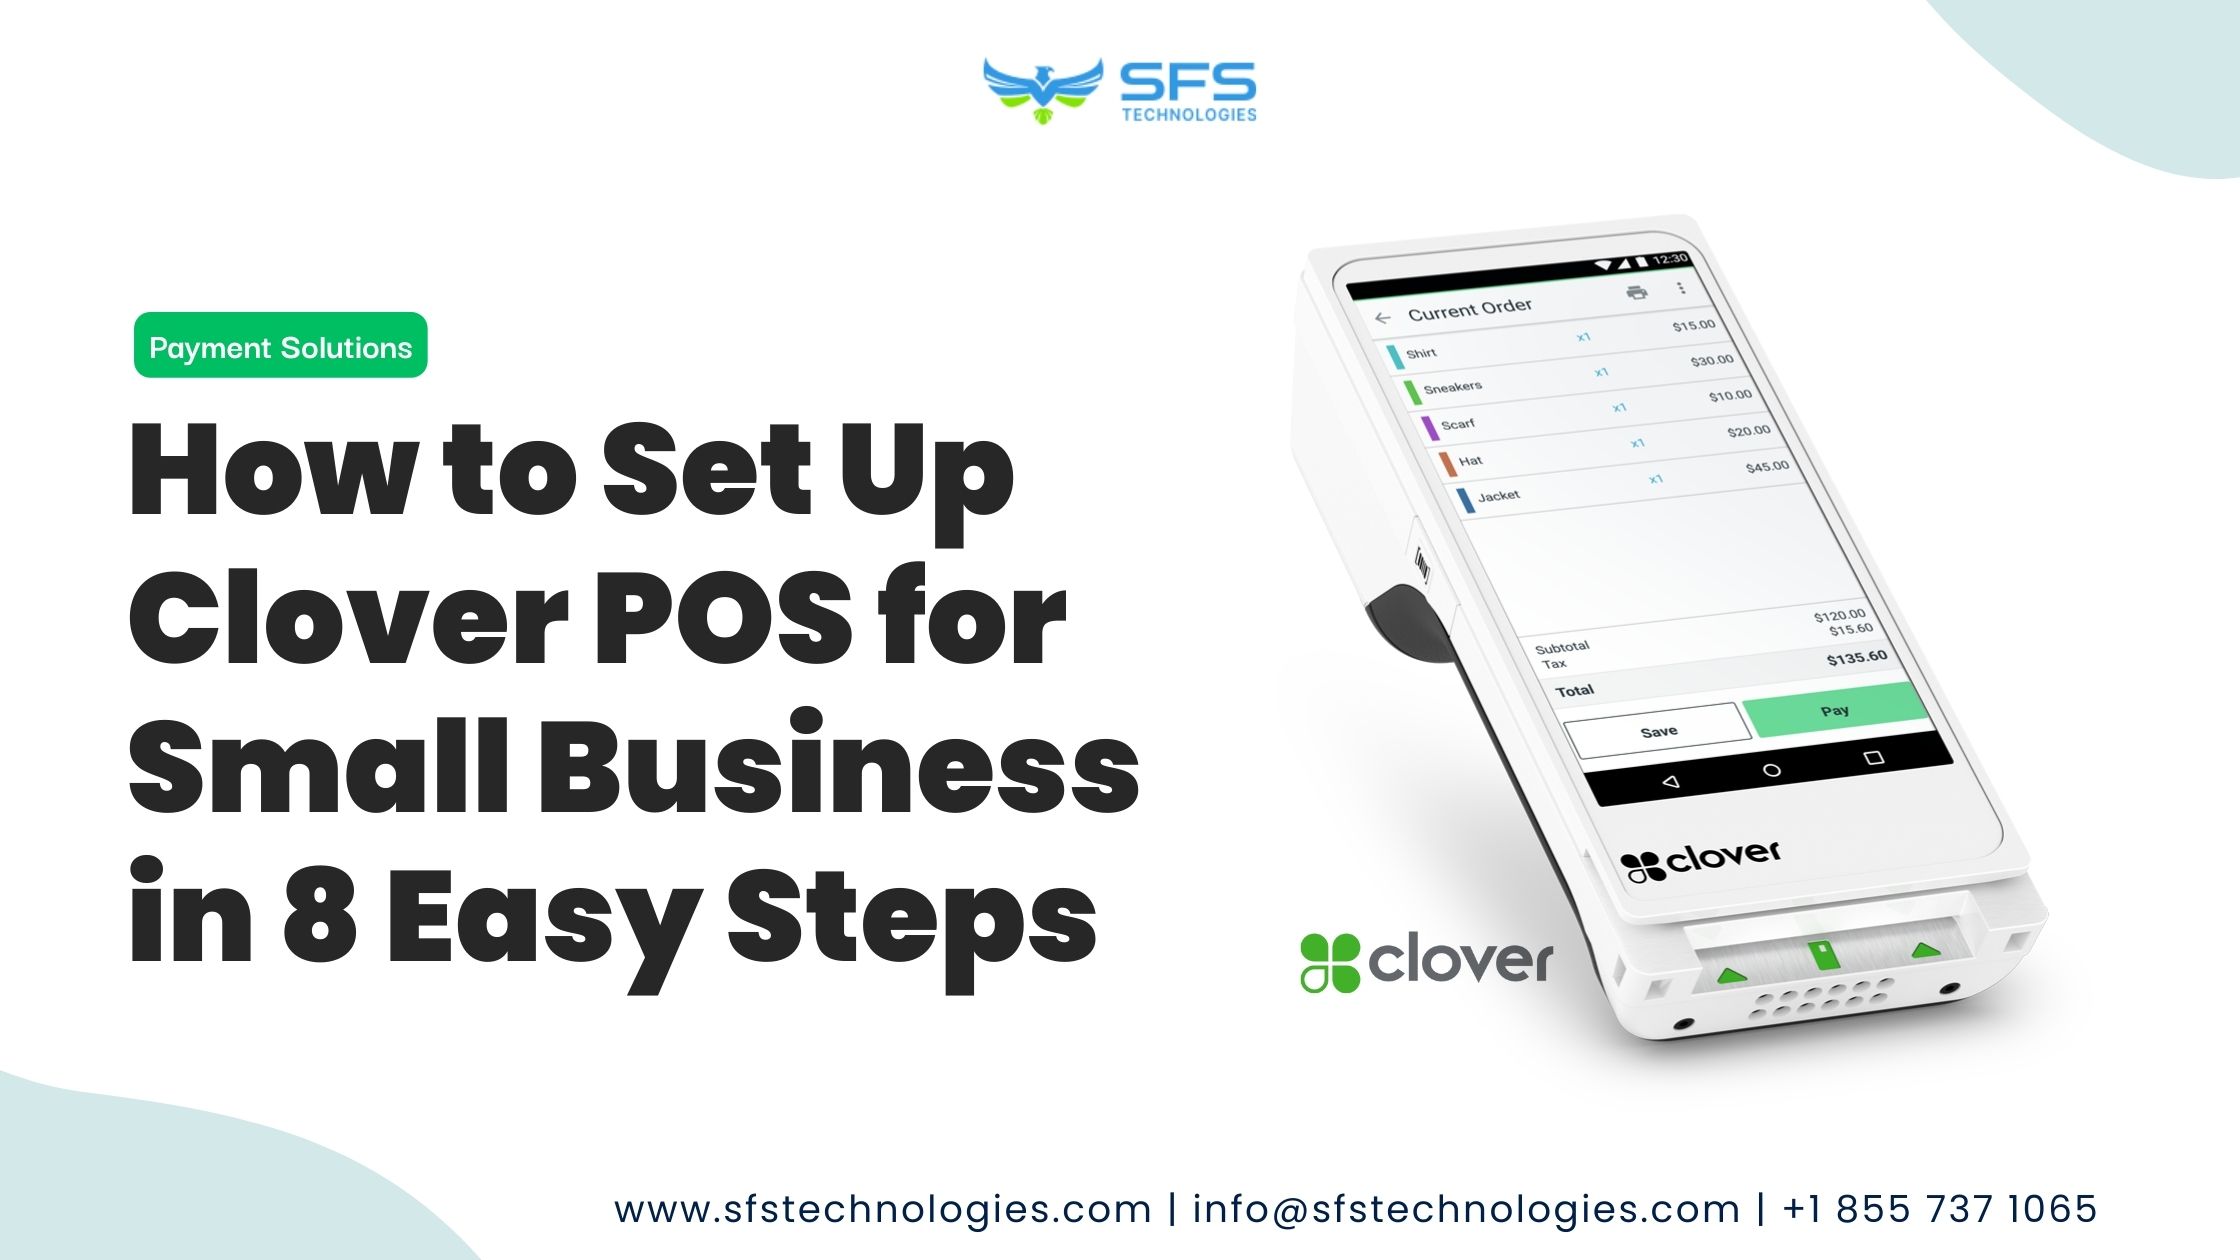
Clover POS offers a range of features to make transactions straightforward and seamless.

This guide will explain step-by-step how to set up Clover POS for your small business. We will cover everything from selecting hardware to configuring software and more.

Table of Contents

Clover POS is a cloud-based platform that integrates hardware, software, and merchant account services. It serves various industries, including retail, restaurant, and service-based businesses.

Features of Clover POS include:

  1. Customizable Hardware: Clover offers different hardware options, including countertop terminals, mobile POS systems, and handheld devices. It allows businesses to choose the setup that best suits their needs.
  2. User-Friendly Interface: Clover POS is easy to navigate, making it simple for employees to process transactions and manage tasks efficiently.
  3. Payment Processing: Clover supports various payment methods, including credit/debit cards, NFC/contactless payments, and mobile wallets like Apple Pay and Google Pay.
  4. Inventory Management: Businesses can track inventory levels, receive low-stock alerts, and manage product information directly from the POS system.
  5. Reporting and Analytics: Clover provides detailed reports on sales, inventory, and employee performance, enabling businesses to make data-driven decisions.
  6. Third-Party Integrations: It offers integrations with various business tools and services, such as accounting software, loyalty programs, and marketing platforms.

Setting Up Clover POS: Step-by-Step Guide

Step 1: Assess Your Business Needs

Evaluating your business needs first is essential when setting up your Clover system. This means considering your industry, business size, transaction volume, and the specific features you require.

Doing so lets you make an informed decision and ensure that your Clover system is tailored to your business’s needs.

Step 2: Choose the Right Hardware

Clover offers a range of hardware options, each designed to cater to different business environments. Depending on your requirements, you can choose from the following:

  • Clover Station: The Clover Station is a countertop POS system with a touchscreen display, receipt printer, and cash drawer. It is ideal for retail and restaurant businesses.
  • Clover Mini: The Clover Mini is a compact countertop POS device with functionality similar to that of the Clover Station but with a smaller form factor.
  • Clover Flex: The Clover Flex is a handheld POS device that supports mobile payments and can be used for line busting, tableside ordering, and more.
  • Clover Go: Clover Go is a mobile card reader that connects with a smartphone or tablet, allowing you to accept payments anywhere.

Step 3: Set Up Merchant Account

To accept payments using Clover POS, you need to create a merchant account with a payment processor compatible with Clover.

Fiserv, the company that developed Clover, offers merchant services, but you can also choose from other payment processors that work with Clover.

Step 4: Install Clover POS Software

Once you’ve selected the hardware and set up your merchant account, it’s time to install the Clover POS software. 

Depending on the hardware you’ve chosen, the setup process may vary slightly, but generally, it involves the following steps:

  1. Power on the Device: Plug in your Clover device and power it on.
  2. Connect to Wi-Fi or Ethernet: Follow the on-screen prompts to connect your Clover device to the internet via Wi-Fi or Ethernet.
  3. Log in or Create a Clover Account: If you already have a Clover account, log in using your credentials. Otherwise, follow the prompts to create a new account.
  4. Complete Setup Wizard: Clover will guide you through a setup wizard, where you’ll enter basic business information, configure settings, and connect your merchant account.
  5. Update Software: Clover may prompt you to update the software to the latest version once the initial setup is complete. Make sure to install any available updates for optimal performance and security.

Step 5: Customize Settings and Inventory

After installing the software, you can customize settings and set up your inventory to tailor Clover POS to your business needs. This may include:

  • Adding Products: Enter product details such as name, description, price, and SKU into the Clover inventory system.
  • Setting Up Tax Rates: Configure tax rates based on location and business requirements.
  • Customizing Receipts: Customize receipt templates with your business logo, contact information, and other relevant details.
  • Creating Employee Profiles: Set up employee profiles with unique login credentials and permissions based on their roles and responsibilities.

Step 6: Configure Payment Processing

Clover POS lets you accept various payment methods, including credit/debit cards, NFC/contactless payments, and mobile wallets. To configure payment processing:

  1. Connect Payment Terminal: If using a Clover Station or Mini, connect the integrated card reader to your device. For Clover Flex or Go, ensure the card reader is paired with the device via Bluetooth.
  2. Select Payment Processor: Choose your preferred payment processor and follow the setup instructions to link it to your Clover account.
  3. Test Transactions: Perform test transactions to ensure that payment processing is functioning correctly and troubleshoot any issues if necessary.

Step 7: Train Your Staff

Training your staff on essential functions like processing sales, managing inventory, and generating reports is essential for effectively using your Clover POS.

It’s also crucial to teach your staff security best practices, such as handling customer data securely and preventing unauthorized access to the POS system.

Ensure you provide comprehensive training sessions and ensure your staff understands all the information presented to them.

Step 8: Monitor Performance

After you set up your Clover POS system, it is essential to monitor its performance and make adjustments as needed.

Use Clover’s reporting and analytics tools to track important metrics like sales, inventory, and employee performance.

You can change your system based on what you see, such as updating product listings, adjusting prices, or modifying employee permissions.

Regularly doing this can keep your Clover POS system running smoothly and effectively.

Conclusion

If you own a small business, Clover POS can make things easier, improve customer service, and help you grow.

Clover POS is great for businesses, from retail shops to restaurants or service providers. By planning and customizing Clover POS, you can make your business run more smoothly and offer your customers a better experience.

If you want to learn more about Clover POS, contact our Sales team at +1 855 737 1469 or email [email protected]

Get in touch

Reach out to us today to talk about how we can turn your software vision into a reality.